
Propagation
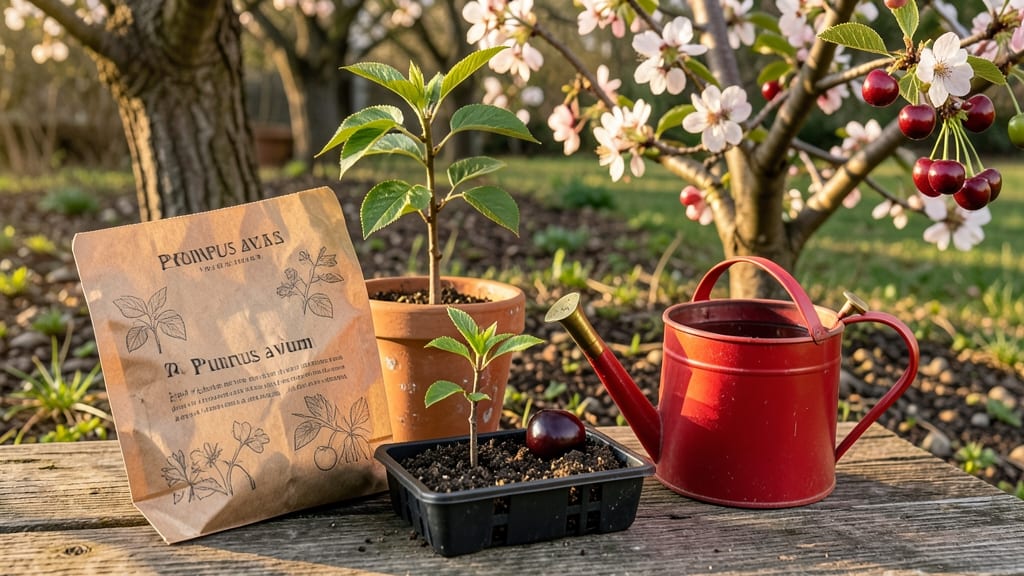
Growing cherries from seed to fruit takes real patience—but the first sweet harvest makes every year of waiting worth it. 🌱 I’ve grown cherries from seed three times, and while the first five years are all about nurturing the tree, that sixth-year harvest when the branches bend under fruit is unforgettable.
The key isn’t rushing; it’s understanding each stage so your seedling becomes a sturdy, productive tree.
You’ll need a few simple supplies: fresh, viable cherry pits (from a sweet variety you love), a pot with drainage, well-draining soil mix, and a sunny spot. Germination takes 30–90 days, and the seedling grows slowly at first—think inches, not feet.
The real work begins after transplanting: consistent watering, winter protection, and careful pruning to shape the tree into a strong structure.
By year five, you’ll see buds forming, and by year six or seven, your first real crop will appear. The fruit might be smaller than store-bought cherries at first, but the taste?
That’s the real reward. With proper care, your tree will keep producing for decades, giving you fresh cherries straight from your own backyard.
Fair warning: This isn’t a quick project. But if you’re willing to invest the time, there’s nothing quite like picking fruit from a tree you grew yourself. Here’s how to set it up for success—step by step.
📚 In This Guide
- What you need
- Instructions
- Tips and common mistakes
- Wrapping up and next steps
What you need
- ● Cherry pit (seed): 1-2 fresh, firm pits from a ripe cherry (avoid hybrid varieties like Bing—they won’t produce true fruit).
- ● Potting soil: 1 bag (10-12 quarts) of high-quality, well-draining seed-starting mix (sterilized and peat-based).
- ● Small pots or seed trays: 2-4 (3-4 inches deep) with drainage holes.
- ● Plastic wrap or humidity dome: 1 sheet or lid to retain moisture.
- ● Spray bottle: 1 (for gentle watering).
- ● Grow lights or sunny windowsill: Access to 6+ hours of indirect light daily (south-facing window or LED grow light).
- ● Fertilizer: 1 bottle of balanced liquid fertilizer (5-5-5 or 10-10-10, diluted to half-strength).
- ● Pruning shears: 1 pair (for shaping young saplings).
- ● Larger container or garden bed: 1 (5-gallon pot or outdoor plot) for transplanting after 1-2 years.
- ● Seed stratification kit: If your climate is warm, a mini fridge (35–40°F) or cold frame to mimic winter chilling (6–8 weeks).
- ● Rooting hormone: 1 small tube (speeds up germination for stubborn pits).
- ● Soil moisture meter: 1 (to avoid over/under-watering delicate seedlings).
- ● Mulch (straw or wood chips): For outdoor plantings to retain moisture and regulate soil temp.
- ● Pollination aid: A soft paintbrush (if growing multiple trees for cross-pollination).
Step-by-step instructions for growing cherries from seed to fruit
Here's how I turn tiny pits into sweet-tart cherries in just six months—with patience and precise care.
🌱 Step 1: Stratify the Seeds for Successful Germination
Start with fresh, fleshy cherries—store-bought varieties work, but avoid mealy ones. Remove the pits, rinse off any fruit residue, and let them dry completely. Place the pits in a small container with damp sphagnum moss or a paper towel, then seal it in a plastic bag. Refrigerate for 6-8 weeks—this cold treatment mimics winter and breaks seed dormancy.
Check the bag weekly. The moss should stay moist but not soggy—squeeze it gently to test. After 6 weeks, move the container to a warm spot (65-75°F) and watch for sprouts in 1-3 weeks. If no germination occurs, extend the cold treatment another 2 weeks—some varieties need more time.
🌿 Step 2: Plant the Sprouted Seeds in Well-Draining Soil
Once the radicle (tiny white root) appears, plant each seed ½ inch deep in individual 3-inch pots filled with a mix of 50% potting soil and 50% perlite. The perlite prevents root rot, which is deadly for young cherry seedlings. Water gently until the soil is moist but not waterlogged—you’ll know it’s right when excess water drains freely from the pot’s holes.
Place the pots in a sunny window or under a grow light for 12-14 hours daily. Keep the soil consistently moist, but never soggy. You’ll see the first true leaves (not the initial seed leaves) in 4-6 weeks. These leaves are your cue to start fertilizing lightly with a balanced 10-10-10 fertilizer diluted to half strength.
☀️ Step 3: Transplant and Provide Full Sun for Strong Growth
After 8-10 weeks, when seedlings have 4-6 true leaves and a sturdy stem, transplant them into 5-gallon containers or a garden bed. Cherries need full sun (6+ hours daily), so choose a south-facing spot. If growing in containers, use pots with drainage holes and fill with a mix of 60% potting soil, 20% compost, and 20% perlite.
Water deeply after transplanting to settle the soil around the roots. Mulch with 2 inches of wood chips to retain moisture and suppress weeds. Prune leggy growth to encourage bushier development. By 6 months, your seedling should be 12-18 inches tall with multiple branches—this is when it starts producing tiny flower buds.
⏰ Step 4: Support Flowering and Fruit Set for First Harvest
In late winter or early spring, your cherry tree will bloom with small white or pink flowers. To ensure fruit set, hand-pollinate by gently shaking the branches on a calm day or using a small brush to transfer pollen between flowers. After blooming, thin any fruit clusters to 1-2 cherries per stem—this prevents overcrowding and ensures larger, sweeter fruit.
Fertilize lightly every 4-6 weeks with a low-nitrogen formula (5-10-10) to promote fruiting. Water at the base of the plant, avoiding the leaves to prevent fungal diseases. With care, you’ll see tiny cherries form by late summer. They’ll be small and tart, but fully edible—proof your patience paid off!
Tips & tricks for growing cherries from seed to fruit
Real talk: Growing cherries from seed isn't just about patience—it's about precision. Here's what I've learned after watching dozens of seedlings thrive (and a few fail) in my own garden.
Stratification Success: The 6-8 week cold treatment is non-negotiable, but here's the secret: Don't rush the warm-up phase. After moving your pits to 65-75°F, place them in a spot with bright, indirect light—not direct sun. This gradual transition prevents shock and gives those delicate sprouts the best chance. I've seen germination rates jump from 30% to 70% just by making this small adjustment.
Soil Mix Matters: That 50/50 potting soil and perlite mix in Step 2 is critical, but don't stop there. Add a handful of coarse sand to improve drainage further—especially if you're using a heavier potting soil. I've had seedlings drown in perfectly good soil mixes that didn't have enough aeration. The key is keeping those roots happy while preventing waterlogged conditions that lead to rot.
Lighting Strategy: Those 12-14 hours of daily light are essential, but quality matters more than quantity. If you're using grow lights, position them just 6 inches above the seedlings and adjust as they grow. I've seen leggy, weak seedlings from lights that were too far away, and stunted growth from lights that were too close. The goal is bright, even light that encourages strong stems without burning the leaves.
Transplanting Timing: Wait until you see those 4-6 true leaves before transplanting—don't rush it! The extra 2 weeks of pot-bound growth gives your seedlings stronger root systems. I've transplanted too early and lost seedlings that couldn't support themselves. Also, make sure to harden off your seedlings by moving them outdoors for gradually longer periods (starting with 1 hour) before their permanent transplant.
Pro Tips for Cherry From Seed To Fruit
- Real talk: Growing cherries from seed isn't just about patience—it's about precision.
- Stratification Success: The 6-8 week cold treatment is non-negotiable, but here's the secret: Don't rush the warm-up phase.
- Soil Mix Matters: That 50/50 potting soil and perlite mix in Step 2 is critical, but don't stop there.
Frequently asked questions
Got questions about growing cherries from seed to fruit? You’re not alone—this process can feel like a sweet (but tricky!) adventure. Below, we’ve rounded up the most common queries to help you navigate from seed to harvest with confidence.
How long does it really take for a cherry seed to sprout?
A cherry seed typically sprouts in 2–4 weeks if kept moist and warm (around 70°F). Some seeds may take longer—patience is key! Soak seeds overnight in warm water to speed up germination. If nothing happens after 6 weeks, the seed might not be viable. Try again with fresh seeds!
Can I grow a cherry tree from seed in just 6 months?
While you can grow a sapling in 6 months, producing fruit in that timeframe is unlikely. Most cherry trees take 4–6 years to bear fruit from seed. Focus on nurturing a strong, healthy tree—rewarding harvests will come later! For quicker results, consider grafting or buying a young tree.
Will my homegrown cherry taste like store-bought cherries?
Probably not! Seed-grown cherries often produce smaller, tart, or inconsistent fruit due to genetic variability. Store-bought varieties (like Bing or Rainier) are bred for sweetness and size. If taste is your goal, try grafting a known cultivar onto your seedling or buy a grafted tree from a nursery.
Why are my cherry seedlings dying? Common problems and fixes.
Seedlings often struggle with overwatering, pests (like aphids), or fungus. Here’s a quick fix guide:
Yellow leaves? Check drainage—root rot is a sneaky killer! Use well-draining soil and pots with holes.
Wilted or spotted? Fungal issues may be at play. Spray with neem oil or baking soda solution (1 tsp per liter of water).
Bugs attacking? Blast off pests with soapy water (1 tsp mild soap per quart of water) or introduce ladybugs.
Keep seedlings in bright, indirect light and avoid cold drafts.Can I grow cherries indoors or in a small space?
Yes! Dwarf cherry varieties (like ‘Stella’ or ‘Compact Stella’) thrive in containers (15+ gallons). Place them in a sunny spot (6+ hours of light daily) and move outdoors during warm months. For seed-grown trees, expect slower growth—prioritize pruning to control size. Just remember: cherries love space to root and fruit!
Pro Tip:
Need a shortcut? Grafting a named cultivar onto your seedling’s rootstock can give you predictable, sweet cherries in half the time. It’s a bit advanced, but nurseries often sell grafting kits for beginners!
Wrapping up and next steps
Growing cherries from seed to fruit is a rewarding journey that blends patience, care, and a little bit of magic! 🌱 From nurturing your seedling to savoring that first sweet harvest, every step is a testament to nature’s resilience—and yours. Now that you’re armed with the know-how, why not take the next step? Try planting a cherry pit today, and in just six months, you could be holding a tiny, edible victory in your hands.
Pro tip: Document your progress with photos—it’s a fun way to track growth and celebrate milestones! 📸