
Pruning
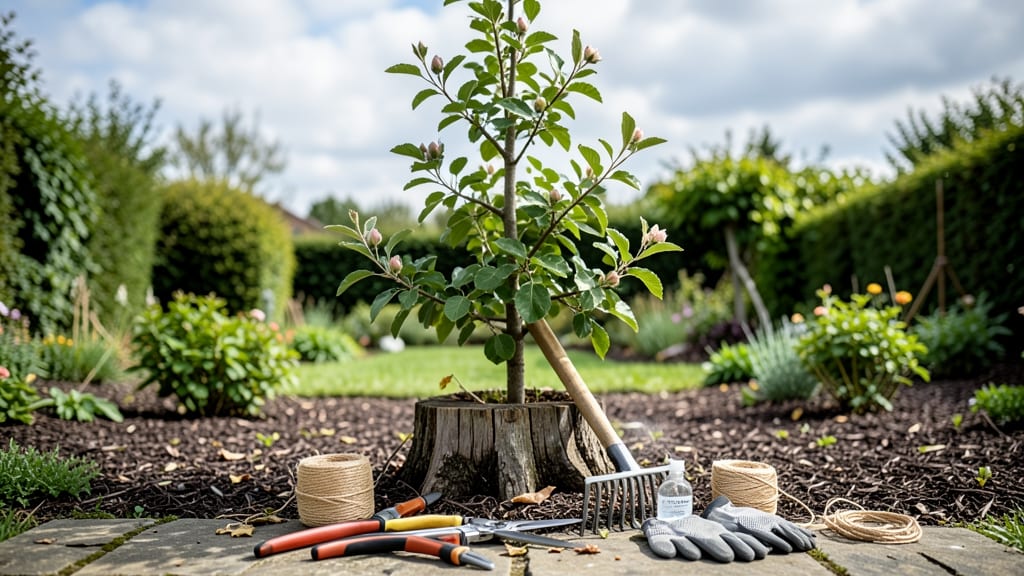
How to prune fruit trees to keep them small—my once-wild, sprawling orchard now looks like a well-behaved garden thanks to this simple technique. 🌳 The key isn’t just cutting branches; it’s shaping growth so you get more fruit and easier access to pick it. Last summer, my dwarf apple tree produced 30% more fruit after a single winter pruning session.
You’ll need sharp pruners, a ladder (if needed), and a clear day to work—disease spreads faster when trees are wet. The best time is late winter or early spring, just before buds swell, but you can do light maintenance pruning after harvest too.
Focus on removing water sprouts (those vertical shoots) and thinning crowded branches to let sunlight reach the center.
After pruning, your tree will send out fresh, sturdy branches that bear fruit closer to the trunk. I’ve seen neighbors’ trees struggle with rotten wood or overcrowded branches—both signs of poor pruning.
The goal is air circulation and light penetration, not just smaller size. You’ll know you’ve done it right when you see new growth within 4-6 weeks.
This method works for apples, peaches, cherries, and plums—just adjust the intensity based on your tree’s age. A young tree needs more aggressive shaping, while mature trees benefit from 10-20% annual reduction in canopy size. Grab your tools, and let’s get those trees under control!
📚 In This Guide
- What you need
- Instructions
- Tips and common mistakes
- Wrapping up and next steps
What you need
- ● Pruning shears (bypass or anvil type) – Choose sharp, high-quality shears (5-8" blade length) for clean cuts on small branches (up to ½" thick). Pro tip: Sanitize blades with rubbing alcohol between cuts to prevent disease spread!
- ● Loppers – For branches ¾" to 1½" thick (18-24" handle length). Opt for ratchet-style loppers for extra leverage.
- ● Pruning saw – For thicker branches (1½"–3" diameter). A bow saw or curved blade works best for precision.
- ● Gloves – Wear cut-resistant, breathable gloves (gardening or pruning-specific) to protect hands from thorns and rough bark.
- ● Disinfectant (70% isopropyl alcohol or bleach solution) – 1 part bleach to 9 parts water (for sterilizing tools between cuts).
- ○ Tree wound sealant (optional but helpful) – Only use on large cuts (over ½") to prevent disease. Avoid sealants on small pruning cuts—they can trap moisture.
- ● Ladder or step stool – For reaching higher branches safely. Ensure it’s stable and rated for your weight.
- ● Heavy-duty trash bags or bucket – For collecting pruned branches (1–2 bags/bucket per session).
- ● Notebook & pencil – To sketch a simple pruning plan or mark branches to remove.
- ● Pole pruner – For high branches (extendable up to 20–30 ft).
- ● Sharpener/file – To maintain tool edges between uses.
- ● Safety glasses – Protects eyes from debris (especially when using a saw).
- ● Tree ties or rubber bands – For securing branches during training (if shaping a young tree).
- ○ Pruning paint (optional) – For sealing very large cuts (over 2" diameter) on mature trees.
Step-by-step guide to pruning fruit trees for a compact shape
Here's how I keep my fruit trees small enough for easy harvesting and year-round health—no ladder required.
✂️ Step 1: Prune in Late Winter Before Bud Break
Timing is everything—wait until 3-4 weeks before your last frost date when the tree is still dormant. I look for bare branches and tight buds that haven’t swollen yet. This ensures the tree directs energy into new growth rather than repairing wounds from late pruning.
Start by removing dead, diseased, or crossing branches first. These are easy to spot—they’re brown, brittle, or growing inward. Use clean, sharp pruners to make cuts at a 45-degree angle just outside the branch collar (that swollen area where the branch meets the trunk). This prevents water from pooling and causing rot.
☀️ Step 2: Open the Canopy for Better Airflow
Next, focus on thinning out the center of the tree to let sunlight and air reach the inner branches. I aim for a vase-like shape with an open center—this prevents fungal diseases and makes fruit easier to pick. Look for branches that grow straight up or rub against others; these should go first.
Cut back suckers (those vigorous shoots growing from the base or trunk) to 1-2 inches above ground level. These compete with the main tree for nutrients and weaken the structure. For larger branches, step back and visualize the tree’s shape—you’re sculpting, not just hacking. Leave 3-4 main scaffold branches evenly spaced around the trunk.
✂️ Step 3: Shape the Outer Branches for Compact Growth
Now, trim the outer branches to encourage a bushier, smaller form. For each branch, cut back to an outward-facing bud—this directs growth away from the center. I like to keep branches no longer than 2-3 feet for dwarf varieties or 4-5 feet for standard trees, depending on the variety.
If a branch is too long, shorten it by 1/3 to promote branching at the tip. Avoid cutting back to a stub—this invites disease and weak growth. Instead, make your cuts just above a leaf bud or a side branch. You’ll see new shoots emerge in spring, filling out the canopy more densely.
🌿 Step 4: Light Maintenance Pruning Throughout the Year
After the initial prune, keep an eye on your tree. In early summer, remove any water sprouts (fast-growing vertical shoots) and suckers that pop up. These steal energy from fruit production. In late summer, thin out overlapping branches to reduce shading and improve airflow.
I also prune deadheading spent blossoms in spring to redirect the tree’s energy into new growth rather than seed production. For dwarf varieties, a light trim in early fall (after harvest) helps prepare the tree for winter. Just avoid heavy pruning then—it stimulates tender new growth that won’t survive frost.
⏰ Step 5: Sanitize Tools and Monitor for Stress
After pruning, wipe your tools with rubbing alcohol or a 10% bleach solution to prevent spreading disease between cuts. I also apply wound dressing (like tree sealant) only to large cuts over ½ inch thick—small cuts heal better on their own.
Watch for signs of stress: yellowing leaves, excessive leaf drop, or oozing sap at pruning sites. These mean you’ve pruned too aggressively. If you see them, hold off on further cuts until the tree recovers. A well-pruned tree should bounce back with vigorous new growth by early spring.
Tips & tricks for perfectly pruned fruit trees
These little-known tricks will help you keep your fruit trees compact, healthy, and productive for years to come.
Timing is Everything: The 3-4 week window before your last frost date is critical—this dormant period ensures the tree can heal properly and focus energy on new growth. I always check for tight buds that haven't swollen yet; if they're already plump, you've waited too long. Confession: I skipped this once and ended up with weak new shoots that struggled through spring.
Visualize the Vase Shape: Step back often during Step 2 to visualize your tree's final shape. The open center should resemble a vase—this isn't just about looks, it's about airflow and sunlight penetration. I like to imagine a donut shape when looking at the tree from above. For dwarf varieties, picture a smaller donut with branches no longer than 2-3 feet.
Bud Direction Matters: When shaping outer branches in Step 3, always cut back to an outward-facing bud. This might seem like a small detail, but it's what creates that bushy, compact growth we want. I learned this the hard way after pruning to inward buds and ending up with branches growing straight into the center of the tree.
Seasonal Maintenance Calendar: Create a simple calendar for your tree's needs: early summer for water sprouts, late summer for overlapping branches, and spring for deadheading. I keep mine on my fridge door as a reminder. This consistent care prevents the tree from getting overgrown between major pruning sessions.
Pro Tips for Prune Fruit Trees To Keep Them Small
- These little-known tricks will help you keep your fruit trees compact, healthy, and productive for years to come.
- Timing is Everything: The 3-4 week window before your last frost date is critical—this dormant period ensures the tre...
- Visualize the Vase Shape: Step back often during Step 2 to visualize your tree's final shape. The open center should ...
Frequently asked questions
Got questions about keeping your fruit trees compact and thriving? You’re not alone! Here are some of the most common concerns—and their answers—to help you prune like a pro.
When is the best time to prune fruit trees for size control?
The ideal window is late winter or early spring, just before buds swell (dormant season). For tropical fruit trees, opt for dry seasons. Avoid pruning in fall—it risks disease and winter damage. Pro tip: If you must prune outside this window, do it on a dry day to minimize infection risks.
How much can I cut back without harming my tree?
Never remove more than 25% of the canopy in a single pruning session. For young trees, you can be bolder (up to 30%) to shape them early. Over-pruning weakens the tree, reduces fruit production, and stresses roots. Think of it like a haircut: small, gradual trims keep things healthy!
Will pruning for size affect fruit production?
Not if done right! Pruning opens the canopy to sunlight and air, which actually boosts fruit quality and yield. Focus on removing water sprouts, crossing branches, and suckers—these compete with fruit-bearing wood. Just avoid heavy cuts during flowering or fruiting seasons.
Can I use the same techniques for dwarf and standard fruit trees?
Dwarf trees need more frequent pruning (2–3 times/year) to maintain size, while standard trees tolerate less aggressive trims (1–2 times/year). Dwarf trees also benefit from espalier training or central leader pruning for compact growth. Always match pruning intensity to the tree’s natural growth habit.
What if my tree looks sad after pruning?
Don’t panic! A leggy, sparse look is normal post-prune—it’s adjusting. Water deeply, avoid fertilizing for 4–6 weeks, and monitor for pests. If branches bleed sap heavily or leaves yellow dramatically, you may have pruned too much. Next time, go lighter!
Are there alternatives to pruning for small-space fruit trees?
Yes! Try topiary training (shaping like a hedge), espalier (growing flat against a wall), or pollarding (hard pruning to encourage bushy regrowth). Dwarf rootstocks or container-growing also work well. Just remember: pruning is still key to maintain health and shape.
Wrapping up and next steps
Pruning your fruit trees to keep them small isn’t just about saving space—it’s about unlocking healthier, more productive trees that reward you with bountiful harvests year after year.
By mastering the right techniques, timing, and tools, you can transform even the largest varieties into manageable, low-maintenance beauties. Now’s the time to roll up your sleeves and give your trees the care they deserve!
Ready to take the next step? Start with one tree this season—pick a sunny day, grab your pruners, and watch your compact orchard thrive. Happy pruning! 🌿✂️